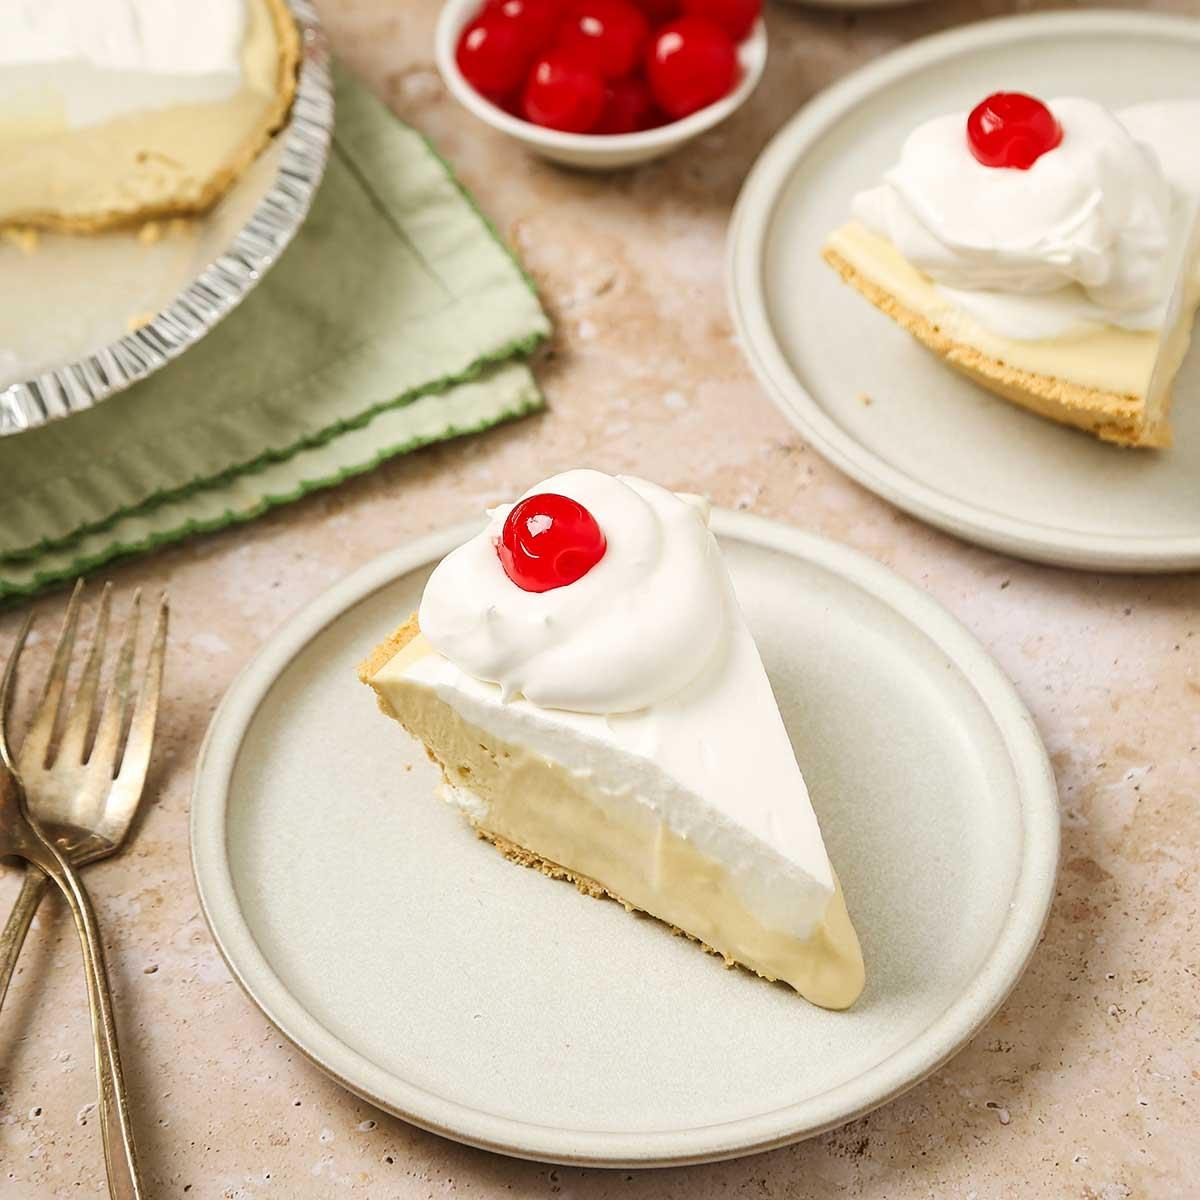
Root beer float pie captures the essence of the classic dessert and translates it into a creamy, frosty, no-bake dessert.

Root Beer Float Pie

If you love a classic root beer float, you’ll adore this frozen root beer pie recipe. The full flavor of root beer shines through this dessert thanks to its use of real soda. Pudding mix and whipped topping replace the ice cream, making a creamy, airy filling. And don’t bother preheating the oven! Just pop this no-bake pie into the freezer for a few hours until it becomes frothy and frosty.
This root beer pie recipe has another trick up its sleeve: Most ingredients come from the pantry, and most are low in sugar and fat. That makes this a great light dessert for people trying to cut back on sugar, and even for diabetics. If you prefer, you can easily swap in full-fat or full-sugar ingredients. Serve this twist on the ice cream parlor classic at your next summer party.
Ingredients for Root Beer Float Pie
- Frozen whipped topping: Fluffy, creamy whipped topping won’t droop or lose volume, even after thawing. You can use reduced-fat whipped topping without affecting the recipe flavor, but full-fat is tasty, too.
- Diet root beer: Pop the root beer soda into the fridge before making the pie. Diet root beer is a good option for reducing sugar, but you can certainly use standard soda for this recipe.
- Fat-free milk: Stirring milk into the pudding mix gives it a distinctive richness that mimics the ice cream in a classic root beer float. You can use skim milk if you’re not counting calories.
- Sugar-free instant vanilla pudding mix: We love using boxed pudding in desserts. The mix makes a perfectly smooth and stable pudding every single time, so you never have to worry that your dessert won’t set.
- Graham cracker pie crust: Most grocery stores sell premade pie crusts if you’re in a hurry. It’s also easy to make a homemade graham cracker crust.
- Maraschino cherries: Garnishing the pie with maraschino cherries really makes this a classic ice cream parlor dessert.

Directions
Step 1: Make the filling
Reserve 1/2 cup of the whipped topping for a garnish and refrigerate it. In a large bowl, whisk together the cold root beer, milk and pudding mix for two minutes. Fold in half the whipped topping.
Editor’s Tip: Folding ingredients is different from stirring them. It’s gentler, so you don’t knock precious air from the whipped topping and soda. Use a large spatula or spoon and dig deep into the mix, then gently fold upward to combine ingredients. It takes a bit longer, but it’s worth it for the airy texture.
Step 2: Pour into the crust
Spread the filling into the graham cracker crust. Spread the remaining half the whipped topping over the pie. (Do not use the 1/2 cup you set aside in Step 1—you’ll add that just before serving.)
Step 3: Freeze the pie
Freeze the pie for at least eight hours or overnight.
Step 4: Garnish and serve the pie
Add a dollop of the reserved chilled 1/2 cup of whipped topping over each slice. If desired, top each serving with a maraschino cherry.

Root Beer Float Pie Variations
- Play with soda pops: While root beer is traditional, cream soda, Dr. Pepper, orange soda, cola and even sarsaparilla are tasty alternatives.
- Add toppings: Sprinkle a tasty garnish over the top. Try crumbled cookies (we especially like Oreos), candies or toasted nuts like pecans.
- Change up the crust: Almost any crumb crust will work well here, from Oreo cookie crust to a nut-based crust made from walnuts or almonds. Or, make it a sweet-and-savory dessert by using a pretzel crumb crust.
How to Store Root Beer Float Pie
Store the root beer float pie in the freezer. Once it’s set, cover it tightly with a layer of storage wrap and a layer of aluminum foil. It will last for up to a month in the freezer. The fluff may deflate slightly over time, but it still tastes great. You can always add a fresh dollop of whipped topping just before serving.
Root Beer Float Pie Tips
What can you do if the root beer pie is too runny?
Since this is a freezer pie (and we rigorously tested the recipe!), it should stay frozen. That said, if you want to be on the safe side, or if you just prefer an ultra-thick filling, add extra pudding mix in Step 2.
What can you serve with root beer float pie?
Root beer pie is an unexpected dessert that works well with almost any meal. We especially love it in the summer, though, when the frosty frozen pie is refreshing and when you prefer no-bake desserts that don’t heat up the kitchen. Serve it after a simple cookout of burgers, chicken and grilled vegetables. You can also pair it with a light summer recipe, such as grilled peach salad or grilled fish.
Root Beer Float Pie
Ingredients
- 1 carton (8 ounces) frozen whipped topping, thawed, divided
- 3/4 cup root beer
- 1/2 cup whole milk
- 1 package (3.4 ounces) instant vanilla pudding mix
- 1 graham cracker crust (9 inches)
- Maraschino cherries, optional
Directions
- Reserve and refrigerate 1/2 cup whipped topping for garnish. In a large bowl, whisk together root beer, milk and pudding mix for 2 minutes. Fold in half of the whipped topping. Spread into graham cracker crust.
- Spread remaining whipped topping over pie. Freeze at least 8 hours or overnight.
- Dollop reserved 1/2 cup whipped topping over each serving. If desired, top each serving with a maraschino cherry.
Nutrition Facts
1 piece: 184 calories, 8g fat (4g saturated fat), 0 cholesterol, 268mg sodium, 27g carbohydrate (14g sugars, 0 fiber), 1g protein. Diabetic Exchanges: 2 starch, 1-1/2 fat.


